
Our Lamp Repair Process
From intake to burn-in testing, here is exactly what happens to your lamp.
If you have been searching for dependable our Lamp Repair Process in Peoria or anywhere across the West Valley, this page covers everything you need before making a decision, including our process, our standards, and the questions we are asked most often.
Safety Considerations Every Owner Should Know
Lamps are the most commonly overlooked electrical hazard in a home. They are moved, tugged, wrapped around furniture legs, run behind rugs, and left plugged in for decades. Insulation hardens with heat and age, copper strands break inside a jacket that still looks intact, and the failure often shows up as intermittent flicker long before it becomes a burning smell.
The warning signs worth acting on immediately are simple: warmth at the plug or socket, a scorch mark or brown halo at the outlet, crackling when the switch is operated, a bulb that loosens on its own, visible cracking in the cord jacket, or a lamp that trips a breaker or GFCI. Any of these should take the lamp out of service until it is inspected.
This matters even more with Our Lamp Repair Process, where the components involved carry current continuously whenever the lamp is on. If you notice any of these signs in your Peoria home or business, unplug the lamp and call Vaughntero Co. at (623) 979-1532. Inspection is straightforward and inexpensive compared with the alternative.
Quality Assurance Before Your Lamp Goes Home
No lamp leaves the workshop without passing the same checklist. Continuity verified end to end. Polarity confirmed at the socket shell. Insulation resistance acceptable. Switch operation smooth through every detent. No heat rise at the plug after sustained operation. Hardware torqued so the neck and base cannot rotate. Shade seated level with adequate clearance from the bulb.
We also re-inspect anything we did not touch. If a customer approved only a socket replacement but the cord shows early cracking, we note it in writing and explain the risk rather than staying silent because it was outside the quoted scope.
That final review is the reason our repeat and referral rate across Peoria stays as high as it does. It is not a marketing promise; it is a bench habit.
Common Problems We Correct
The complaints that bring lamps to our bench repeat with remarkable consistency, and each has a specific cause. A lamp that works only when the cord is wiggled has a broken conductor or a failing strain relief. A lamp that hums or buzzes on a dimmer usually has an incompatible bulb or an undersized control. A lamp that flickers when a truck passes has a loose socket contact tab. A three-way lamp stuck on one brightness has a worn three-way socket, not a bad bulb.
Other frequent faults include stripped harp saddles that let the shade tilt, loose necks that allow the base to swivel and twist the internal wiring, corroded sockets in kitchens and bathrooms, cracked plastic sockets in lamps that ran high-wattage incandescent bulbs for years, and plugs that no longer grip an outlet.
Every one of these is repairable. Most are inexpensive. All of them are safer fixed than tolerated.
Environmental and Practical Benefits of Repair
Every lamp restored is a lamp that does not go to a landfill and a new one that does not need to be manufactured and shipped. Lighting is among the easiest categories of household goods to keep in service, because the parts that fail are small, standardized, and inexpensive while the parts with real material value almost never wear out.
There is a practical benefit too. Older lamps were frequently built with heavier castings, thicker glass, real hardwood, and proportions that current mass production does not match at comparable prices. Keeping them working is both the economical and the aesthetic choice.
If sustainability factors into your decisions, repair is one of the clearest wins available. Read more in extending the life of your lamps.
Why Our Lamp Repair Process Deserves a Specialist
Lighting is one of the few household objects that combines electrical hardware, structural assembly, and decorative finish in a single piece. That is exactly why Our Lamp Repair Process rewards a specialist rather than a generalist. At Vaughntero Co. in Peoria, every piece is opened, inspected, and evaluated as a whole system: the cord and plug, the socket shell and interior, the switch mechanism, the harp and finial, the shade fitting, and the base itself. A lamp that flickers may have a failing socket, but it may equally have a cracked strain relief, a loose neck, or brittle insulation hidden inside a hollow column.
Our technicians work from that full-system view. Instead of swapping one obvious part and sending the lamp back out, we resolve the underlying fault and then verify the whole assembly under load. That approach costs a little more time in the workshop and saves customers repeat visits, repeat charges, and the frustration of a repair that lasts a few weeks. It is also why so much of our work in Peoria arrives by referral from customers who were told elsewhere that their lamp was beyond help.
If you are unsure whether your piece is a candidate, call (623) 979-1532 and describe it. We will tell you honestly what is involved before you bring anything in.
Step-by-Step: What Happens to Your Lamp
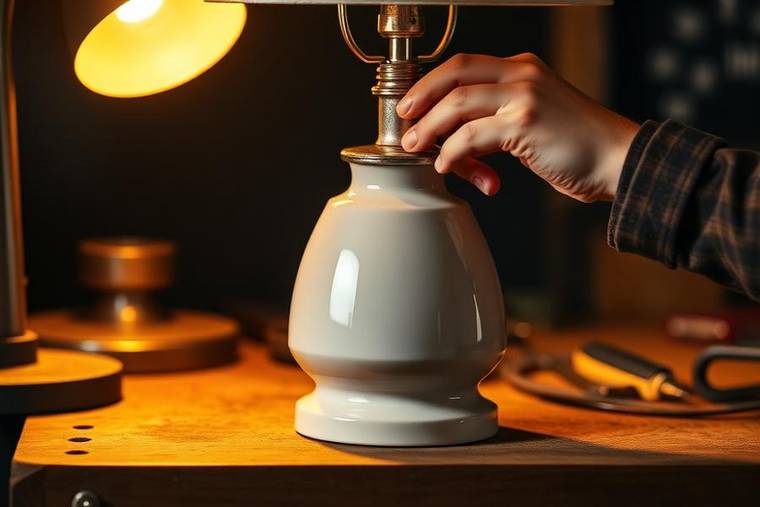
First, intake and documentation. Second, visual inspection of the exterior, base felt, cord entry, and shade fittings. Third, electrical testing of the cord, plug, switch, and socket with the lamp both energized and isolated. Fourth, a written quote with options where more than one path is reasonable.
Fifth, disassembly with hardware kept in labeled order. Sixth, the repair itself: rewiring, socket and switch replacement, mechanical tightening, thread repair, cleaning, and finish work as approved. Seventh, reassembly with correct polarity, proper strain relief, and a secured underwriters knot.
Eighth, burn-in testing. We run the lamp, cycle the switch through every position, and check for heat at the plug, socket, and any control. Ninth, final cleaning and shade fitting so the piece leaves looking cared for. Tenth, handover, with a plain-language explanation of what failed and what to watch for. Read the expanded version on our process page.
LED, Dimmers, and Modern Bulb Compatibility
The shift to LED lighting solved an energy problem and created a compatibility problem. Legacy dimmers were designed for the steady resistive load of an incandescent filament. LED lamps draw a fraction of that load, and the mismatch produces flicker, buzzing, limited dimming range, or a faint glow when the lamp is supposedly off.
The fix is rarely the bulb alone. We replace the control with a trailing-edge dimmer rated for LED loads, verify the minimum load requirement, and confirm behavior across the full dial with the exact bulbs the customer intends to use. Where a lamp has multiple sockets, we make sure every bulb is the same type and driver family, since mixing brands is a common cause of uneven dimming.
Heat is the other consideration. LED assemblies fail from trapped heat in enclosed shades far more often than from age, so socket placement and shade ventilation are part of the repair. Our LED lamp repair guide covers this in detail.
Repair Versus Replacement: An Honest Assessment
We do not repair lamps that should not be repaired, and we say so at intake. When a base is cast from pot metal that has crumbled, when a plastic body has become brittle throughout, or when the value of a mass-market lamp is genuinely below the cost of correcting it, we tell customers plainly and charge nothing for the opinion.
Far more often, the opposite is true. Solid brass, marble, hardwood, art glass, and quality ceramic bases are worth restoring and will outlast anything at a comparable retail price. Shades can be re-fitted. Finishes can be revived. Wiring is entirely renewable. The decorative shell of a good lamp is not the part that fails; the inexpensive electrical parts are, and those are replaceable indefinitely.
Our full comparison is in lamp repair vs replacement, written to help you make the call before you spend anything.
The Ten Steps, In Order
1. Intake and documentation, including photographs and a written record of the symptoms you describe. 2. Visual inspection of cord entry, base felt, neck, harp and shade fittings. 3. Electrical testing of cord, plug, switch and socket.
4. A written quote listing parts, labor and any optional upgrades. 5. Disassembly with hardware kept in labeled order. 6. The repair itself. 7. Reassembly with correct polarity, strain relief and an underwriters knot.
8. Burn-in testing with the switch cycled through every position. 9. Final cleaning and shade fitting. 10. Handover with a plain-language explanation of what failed and what to watch for.
Talk to a Lamp Repair Specialist
Call (623) 979-1532 for free advice and a no-obligation estimate.